Gelli-Plate Printing & Collage: Three Days with Sally Hirst
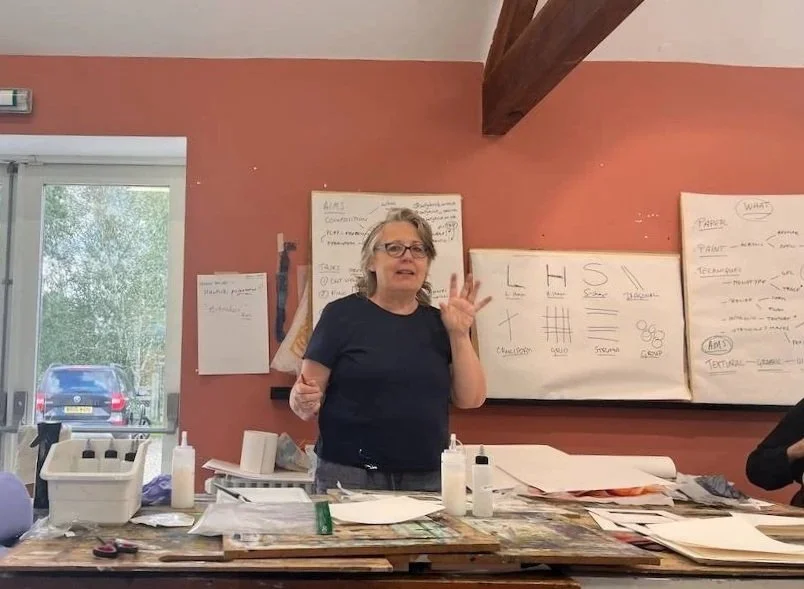
Sally Hirst delivers Printmaking for Collage workshop
It's been several years since I gave myself permission to take time out to learn something new. Covid was the original blockage and then life took over. We moved to Scotland at the end of 2022 and re-establishing my art business in Scotland was my primary focus in the first couple of years. At the end of 2024, we embarked on a house renovation that took over a year — professional development still had to take a back seat. In the interim I signed up to Sally Hirst and The Lund newsletters. This time last year I spotted that Sally's name was on the Lund's 2026 workshop programme, so I jumped at it.
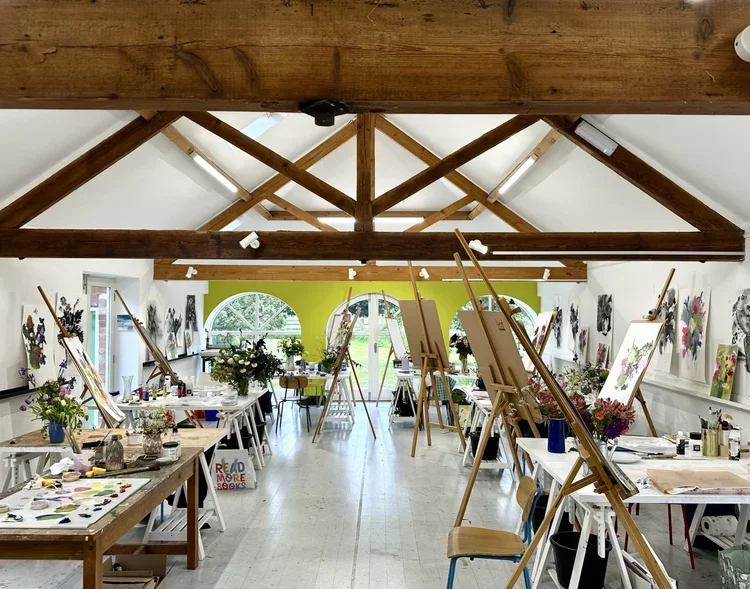
I was genuinely excited to have a week to myself with no distractions to do something completely new with the guidance of someone who really knows her stuff. Lund Studios and gallery are in an absolutely lovely rural setting, just five-minute drive from the centre of Easingwold, a pretty Yorkshire village. It is a purpose-built spacious studio space with a separate dining area where we were plied with delicious home-cooked lunches and freshly baked mid-morning and mid-afternoon cakes or biscuits. Teas, coffee and fresh fruit were available all day. As I stepped through the door who did I bump straight into but Rebecca Vincent — the tutor whose workshop hooked me on printmaking back in the nineties, and who later became my business partner. You could have knocked us both down with a feather. By pure chance we had both booked the same course and we ended up working opposite each other for the next three days.
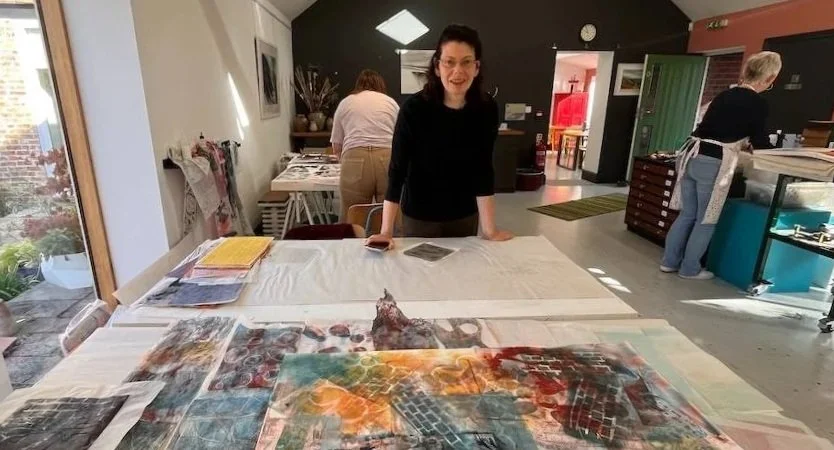
Former tutor and business partner, Rebecca Vincent
Across those three days, Rebecca and I agreed how much pleasure it was to be guided by someone with such a depth of knowledge that only comes from lots and lots of research and practice. Sally was once an online educator for Golden Artist Colors. There seemed to be nothing she did not know about papers, materials, and equipment for gelli-plate printing and collage. Her forthcoming book 'Printmaking for Collage' covers most of the course and a lot more.
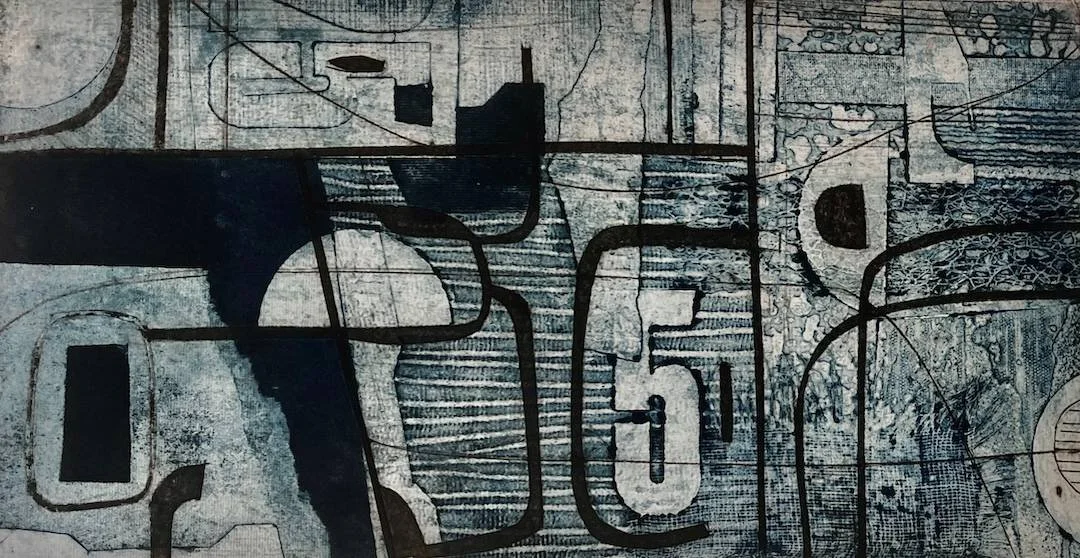
The course was well structured. Each morning Sally would take us through the aims and objectives of the day, what we should aim to achieve by close of play. We were introduced to the materials and equipment. Sally offered guidance on how she wanted us to approach things creatively while she demonstrated the techniques. There were twelve of us, mostly practising artists, and we spent the first two days making a large volume of printed papers on teabag paper of different weights. She showed us what additives to use when using trace monotype versus gelli-plate monotype. We looked at intaglio, relief, stencils and masks, as means to create texture, shape and pattern rather than finished pieces. Each of us also had a sheet of Seawhite 350gsm watercolour catch paper, for later use on the final day.
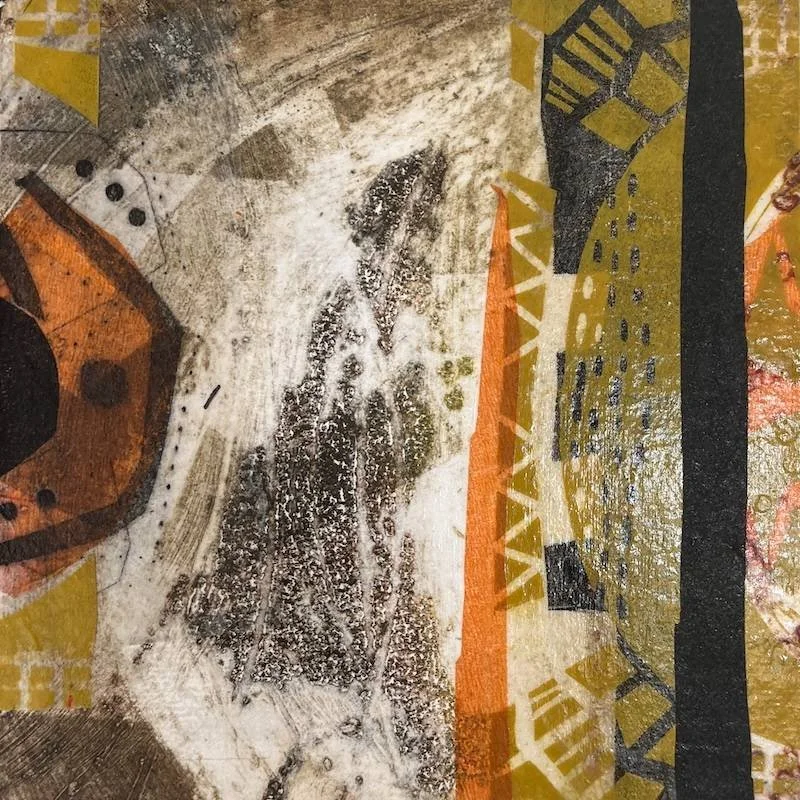
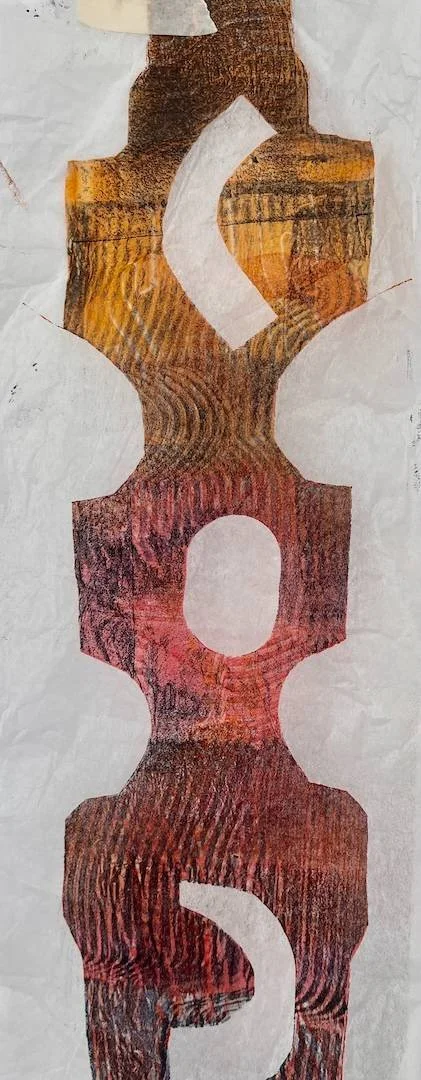
Sally's key message as we progressed through the days was to pay attention to the moments when we felt discomfort and when we felt relaxed with what we were doing. When things start to feel outside our comfort zone, that’s where the real learning takes place. That’s the moment where breakthroughs happen.
Rather than try to recreate something specifically recognisable, we were asked to think in terms of shape, line, space (both positive and negative), texture and contrast, and how to create enough consistency that several pieces of work 'hang' together in colour and content. Sally beautifully articulated what I try to communicate to my own students when I teach printmaking; don’t get hung up on an end result. Learn the techniques. Develop the skills. Apply them to your own way of working.
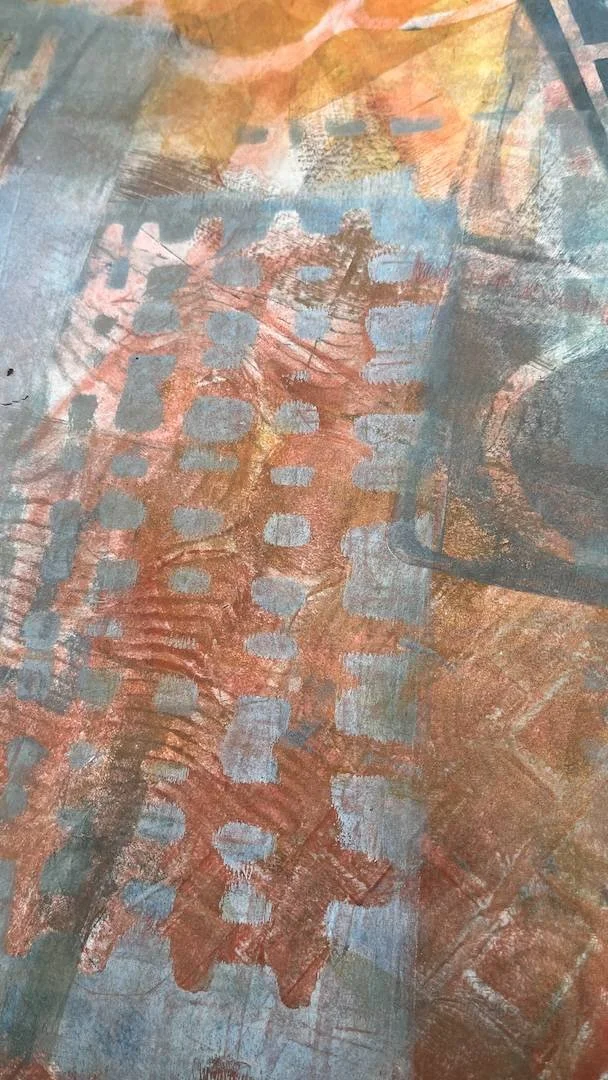
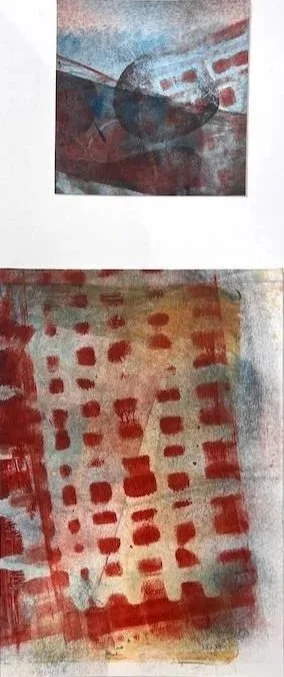
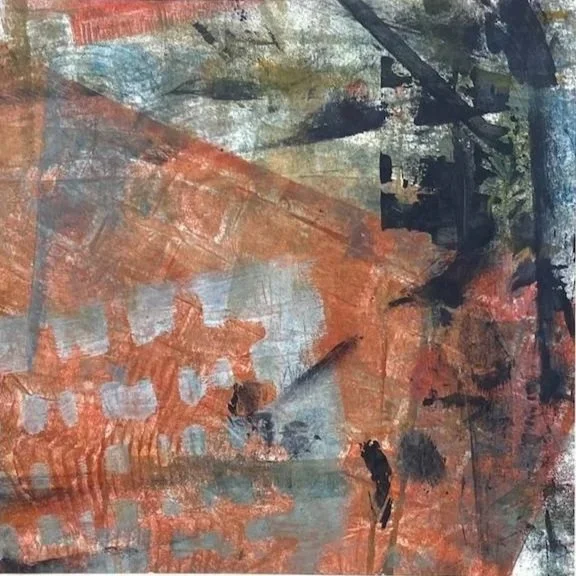
The theme I chose was connected with the coastline of Bute, the pebble shapes which feature a lot in my prints. I coupled those with the ceramic tiles and cobbled slipways, ropes, fishing net, chains I observe on the sea front below my house and around the marina and ferry terminal. Initially I deliberately chose two colours I rarely use, manganese blue and burnt orange. Later I added yellow ochre to add a bit of punch. It's a principle I first heard Nicholas Wilton articulate — limit your colour palette and mix your own colours from the two or three you choose, and you'll find your work naturally hangs together.
There was a variety of materials available to create stencils and masks for the shapes I wanted to use. These were coupled with different types of brayers/rollers, brushes, scrapers and other mark-making tools too numerous to mention. They were used either directly onto the catch paper or onto the gelli-plate. Suffice to say as each day progressed I had plenty of uncomfortable moments. I produced loads of papers, very few of which I felt happy with, compared to what was going on around me. At times I felt completely out of my depth, but Sally was very encouraging, so I kept going.
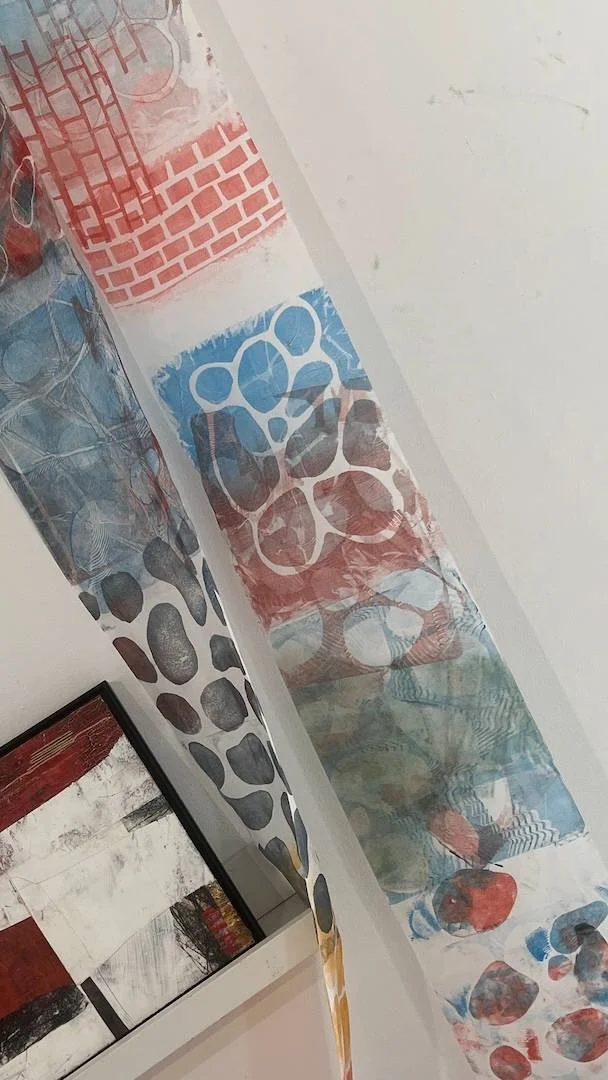
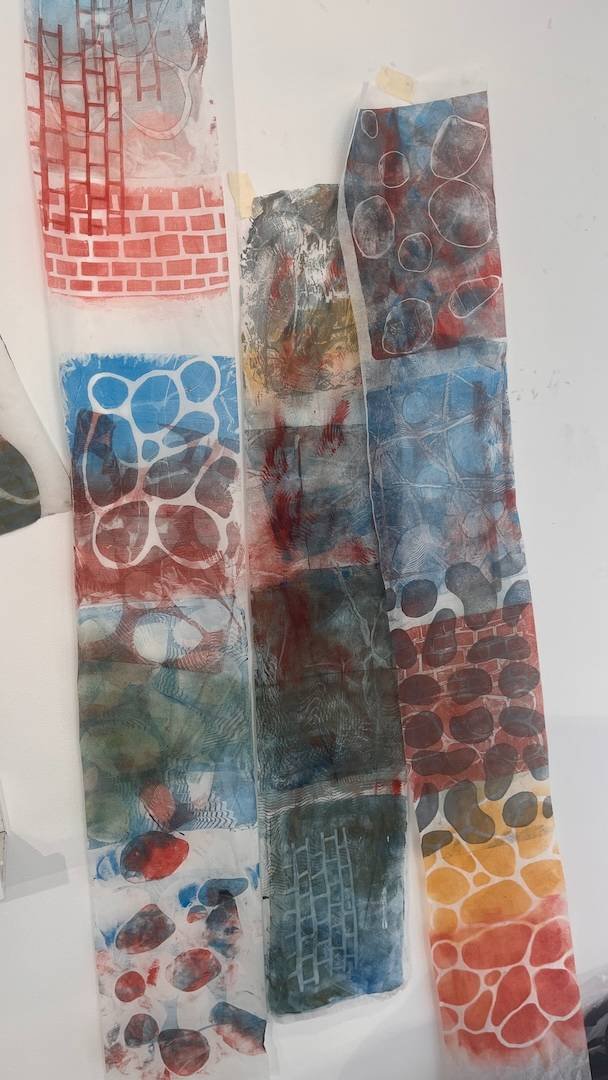
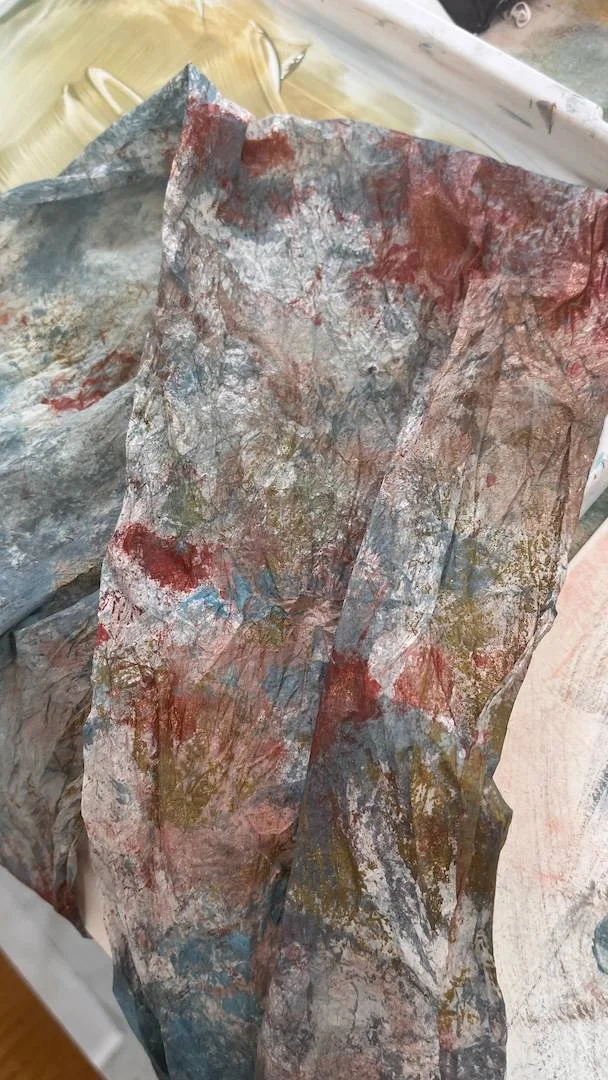
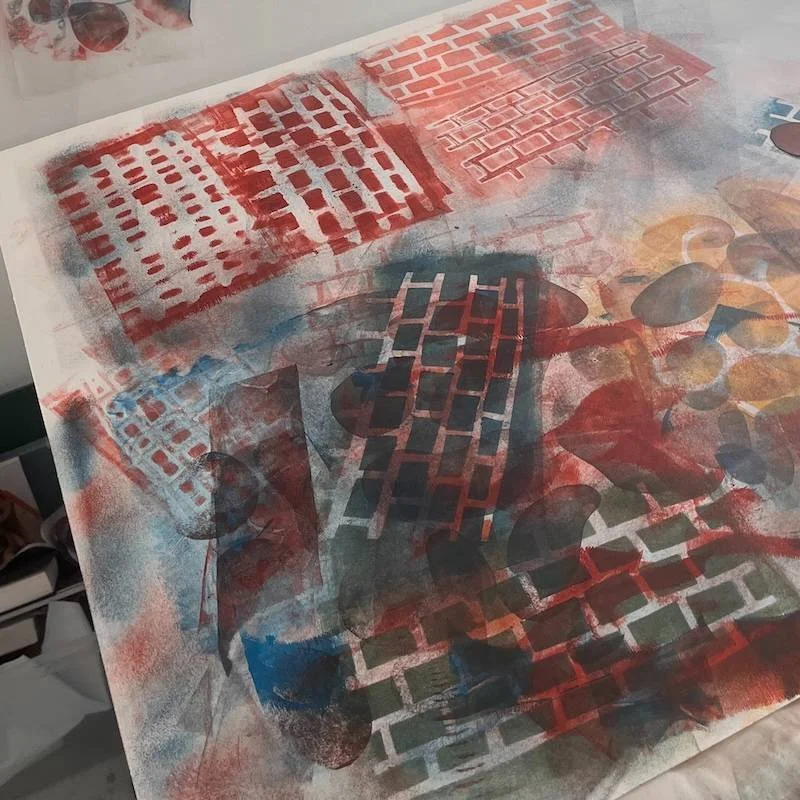
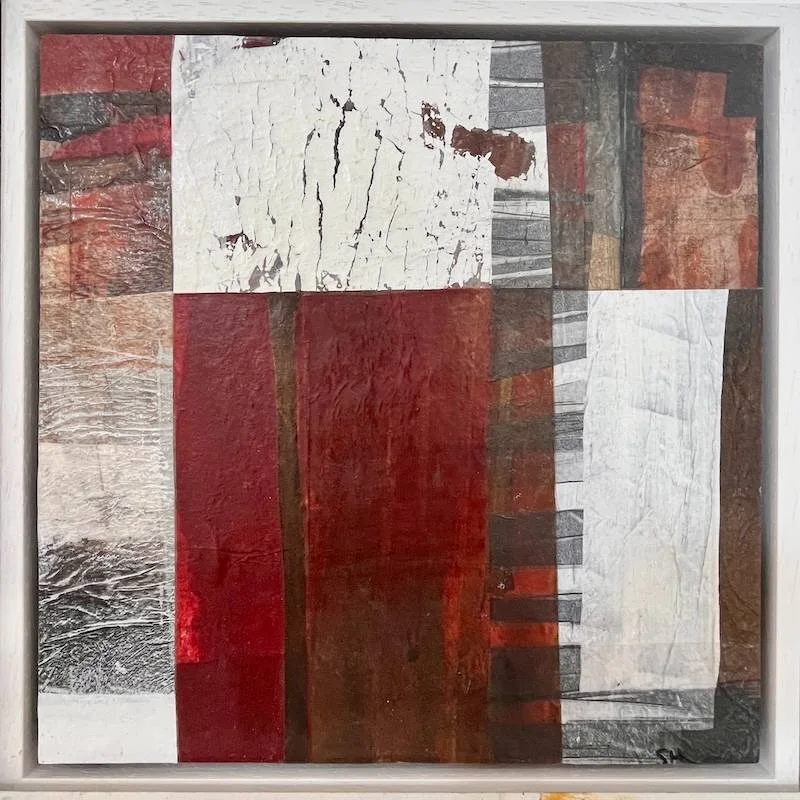
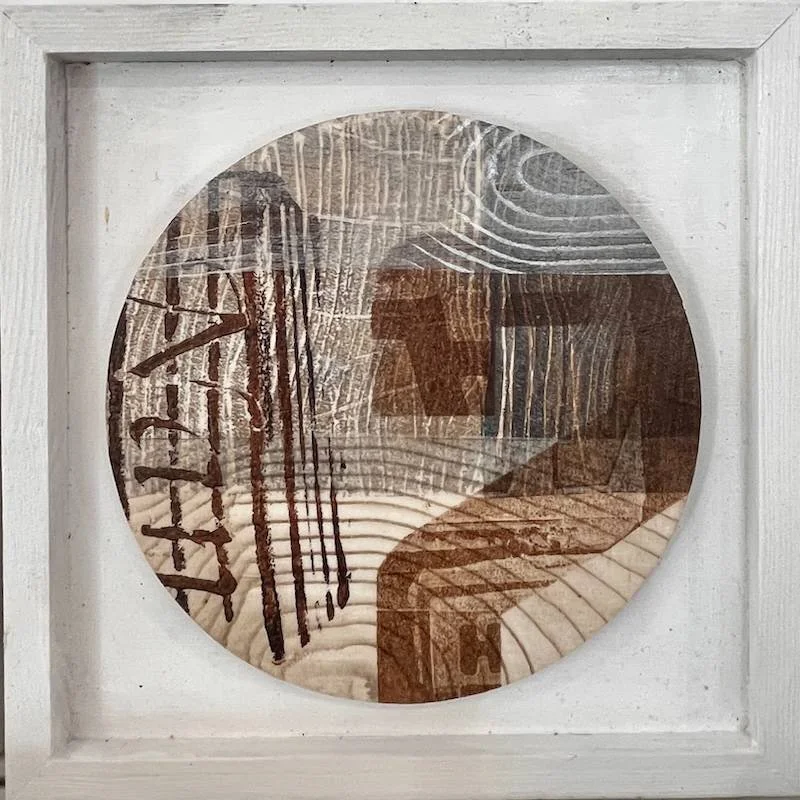
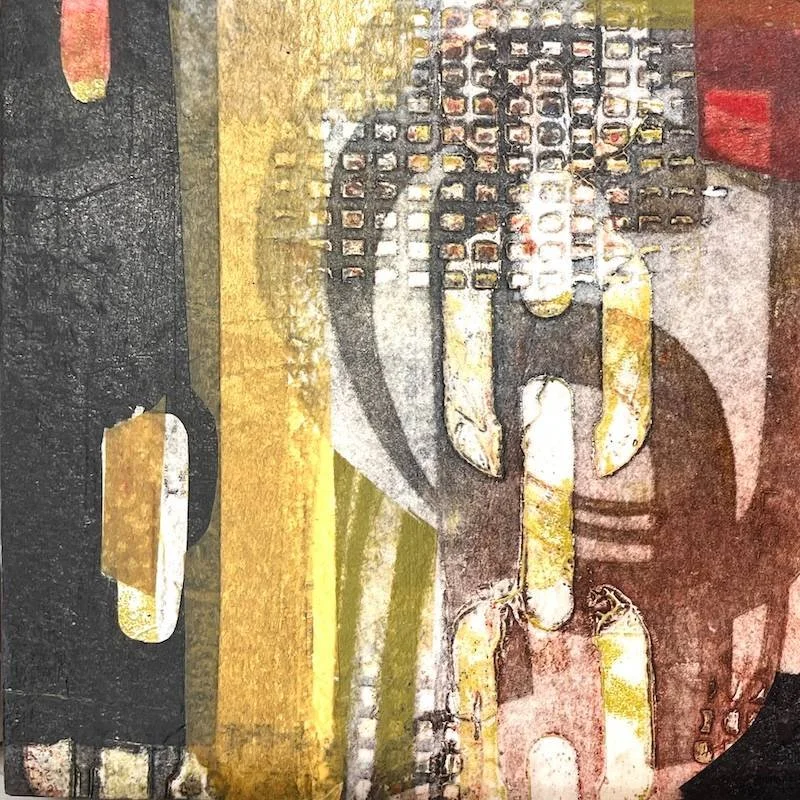
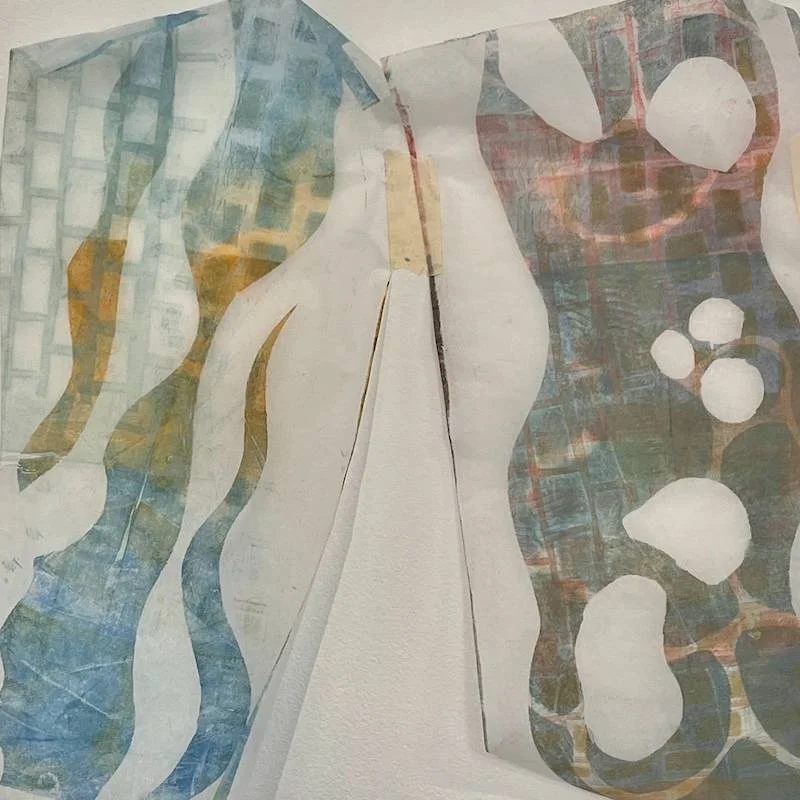
It did all come together on the final day. We started by cutting out three view finders of different sizes and shapes, two square (one medium, one small) and one medium-sized rectangle. We used these to select sections from our printed papers, both the teabag papers and the catch paper. We cut out these out and mounted them onto clean sheets of paper. The remainder of the catch paper we coated with gesso and then wiped it off, to knock back the colour intensity. We then used the view finders to cut new sections out which we mounted onto wood panels. Finally we cut or tore off bits of the remaining teabag papers and assembled them as collages on paper and one final large one on silicone mats that could then be lifted in its entirety and pasted onto a larger sheet of paper. This was all accompanied by advice on the use of the right mediums to achieve transparency and adhesion. Again, I’m not going to delve deeply into the technicalities because if this is something you are really interested in, then Sally’s book, when it comes out, covers everything you need to know.
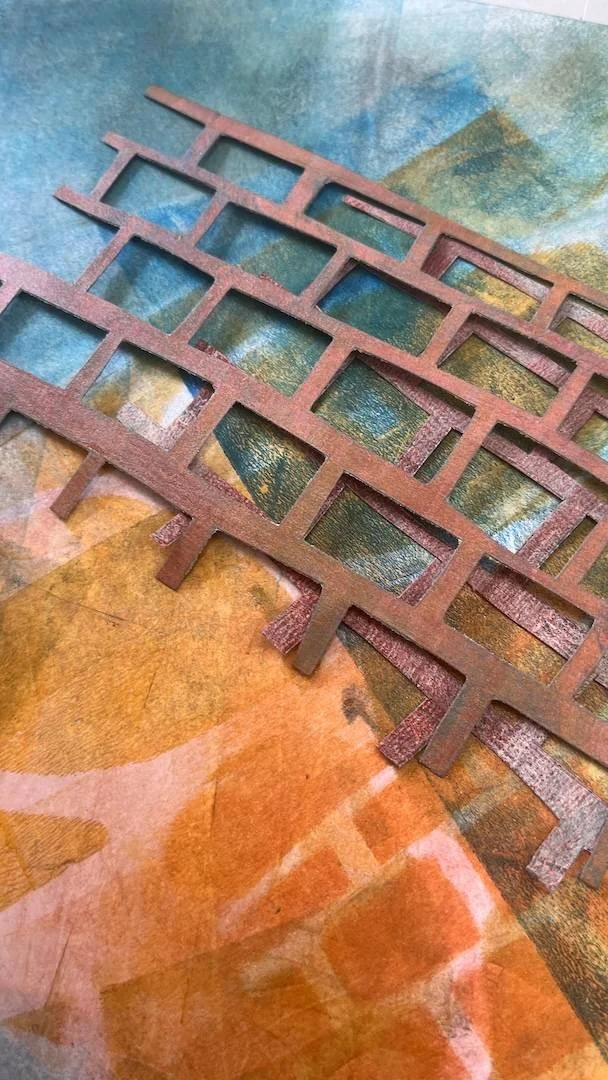
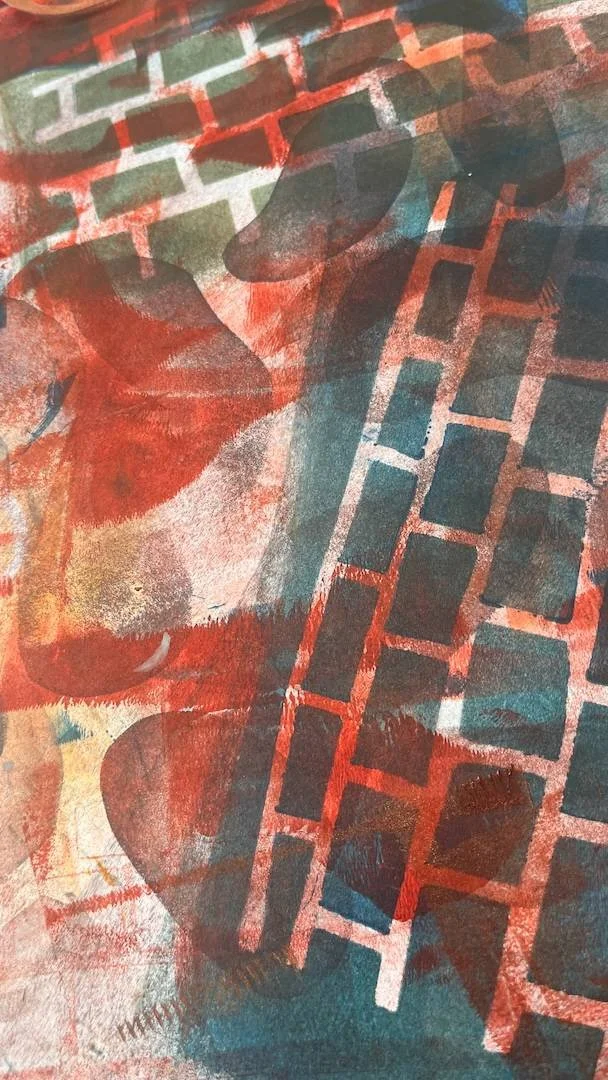
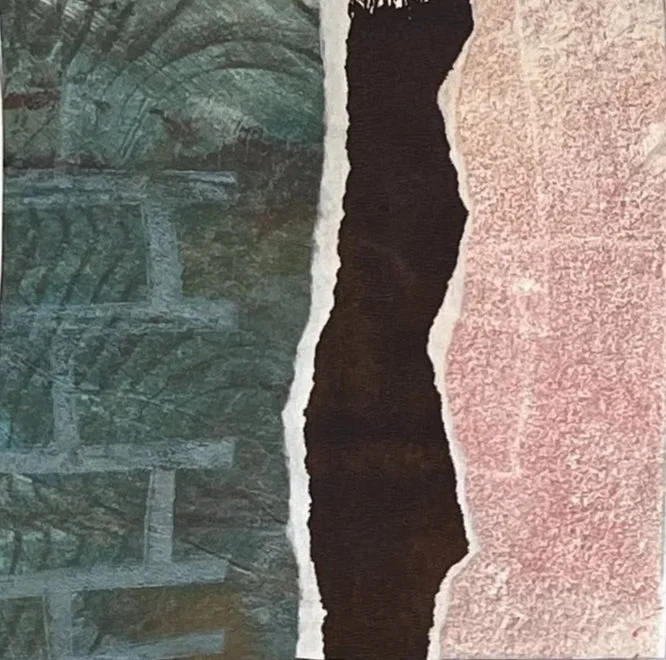
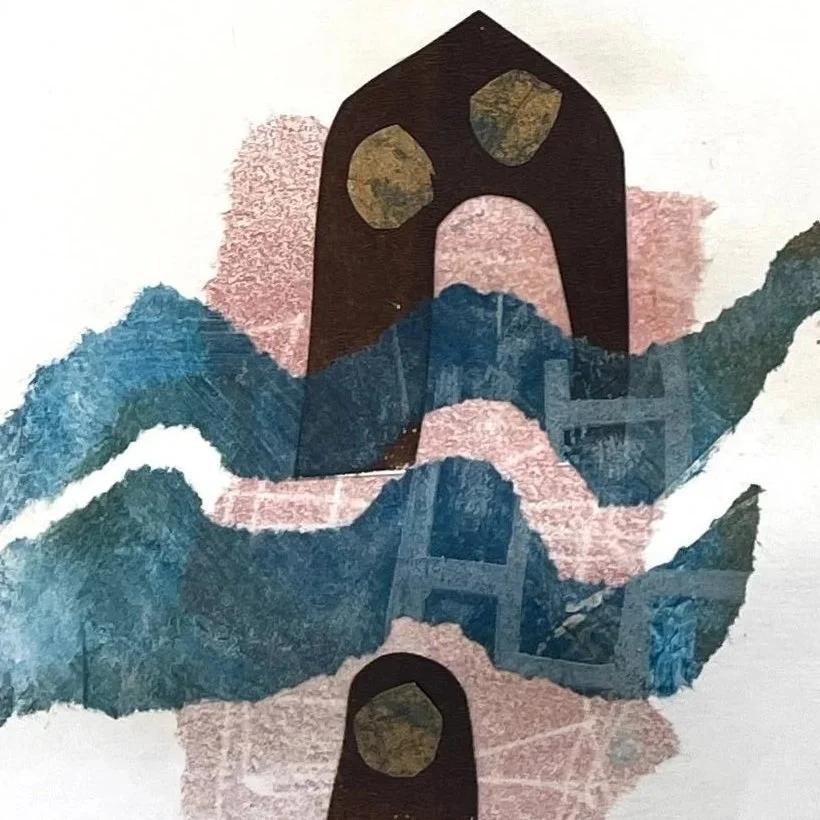
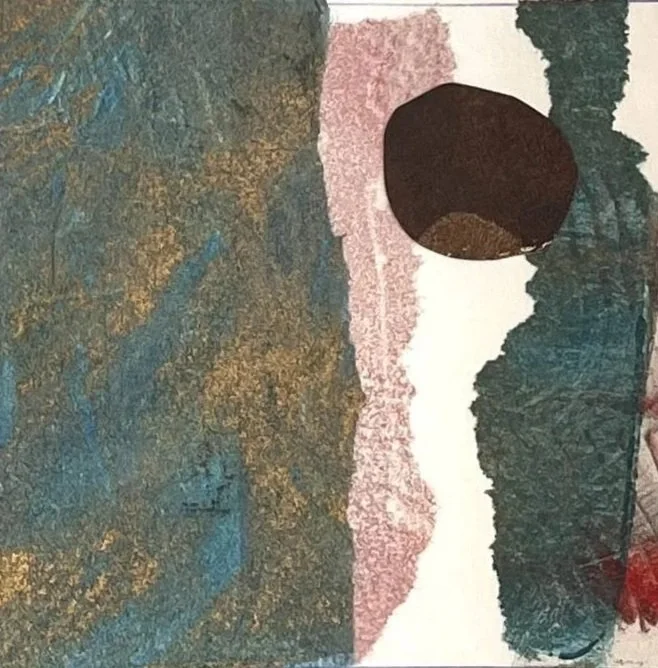
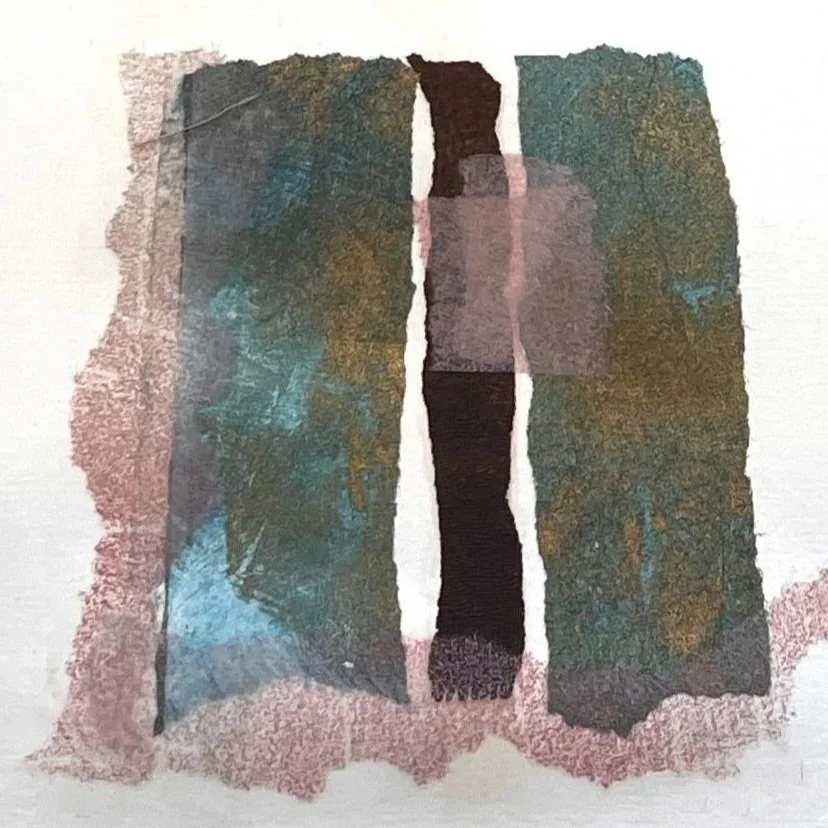
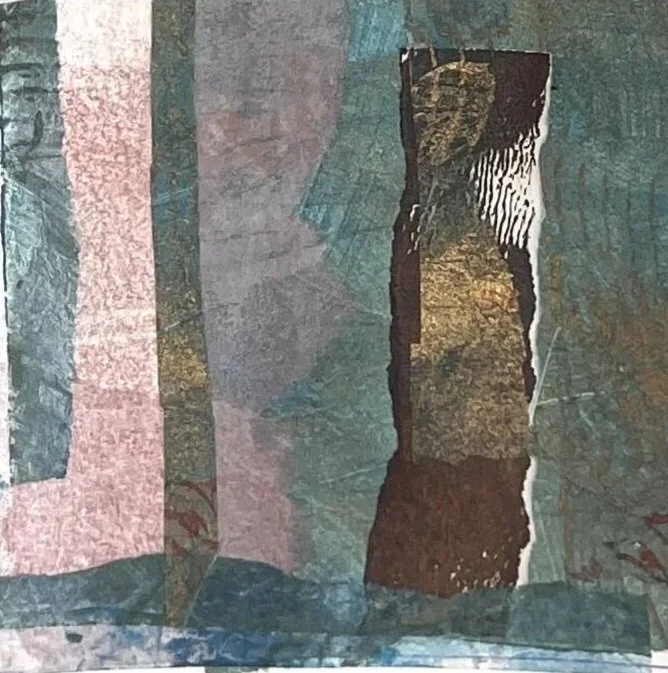
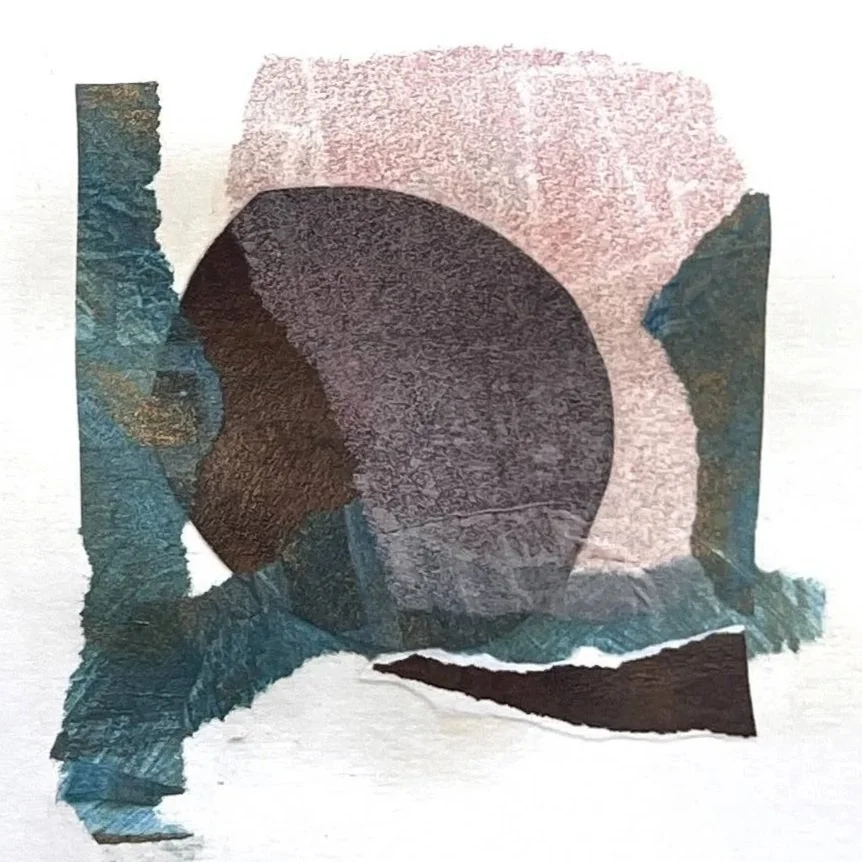
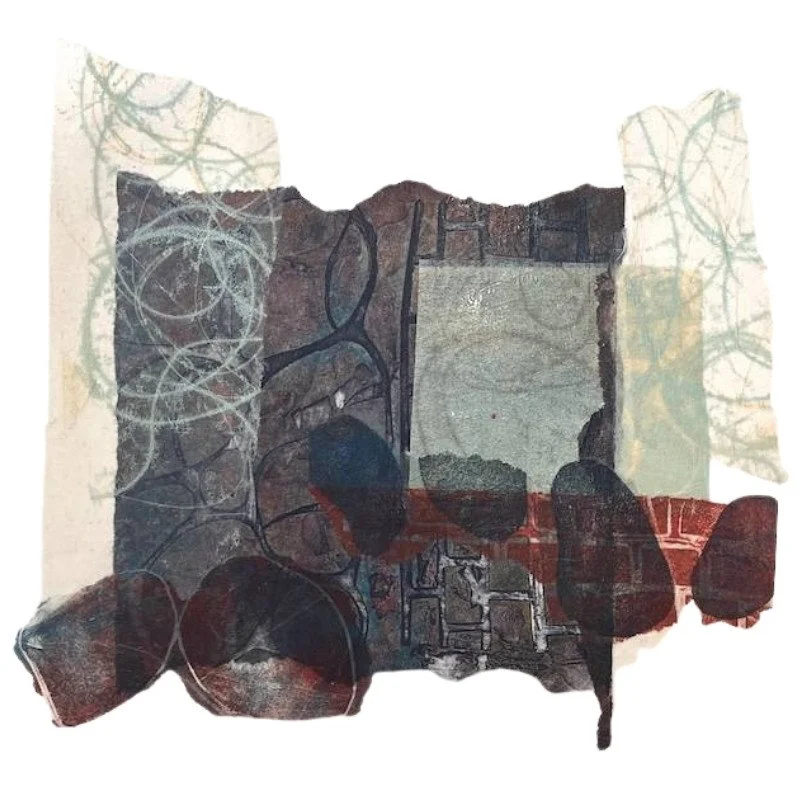
What I will say is that I plan to run a couple of gelli-plate workshops next year. They will be based on what I’ve already done in the past, to which I can now add some of the new knowledge I’ve gained on the course and with further practice. I now have a better technical understanding of materials and equipment which helps my creative process. If any questions arise that I can’t answer, I will be referring back to Sally. Alternatively, you could try booking a course at the Lund. Be aware though that both Sally Hirst and Jo Ruth’s courses are already fully booked. You will have to join the waitlist. Sometimes people do drop out closer to the time. In the meantime, keep an eye on my workshops page — I'll post details of my own gelli-plate sessions there as soon as they're confirmed.