Collagraphs: An Explanation and How-To Guide - Part 1.
Collagraphs: A Textured Journey into Printmaking
Collagraphs are a captivating form of fine art printmaking that offer endless possibilities for creativity and expression. By assembling textured materials onto a substrate, artists can create unique prints with depth, character, and a rich variety of tones. This technique allows for experimentation and exploration, making it a popular choice for those seeking to capture the beauty and intricacies of the world around them.
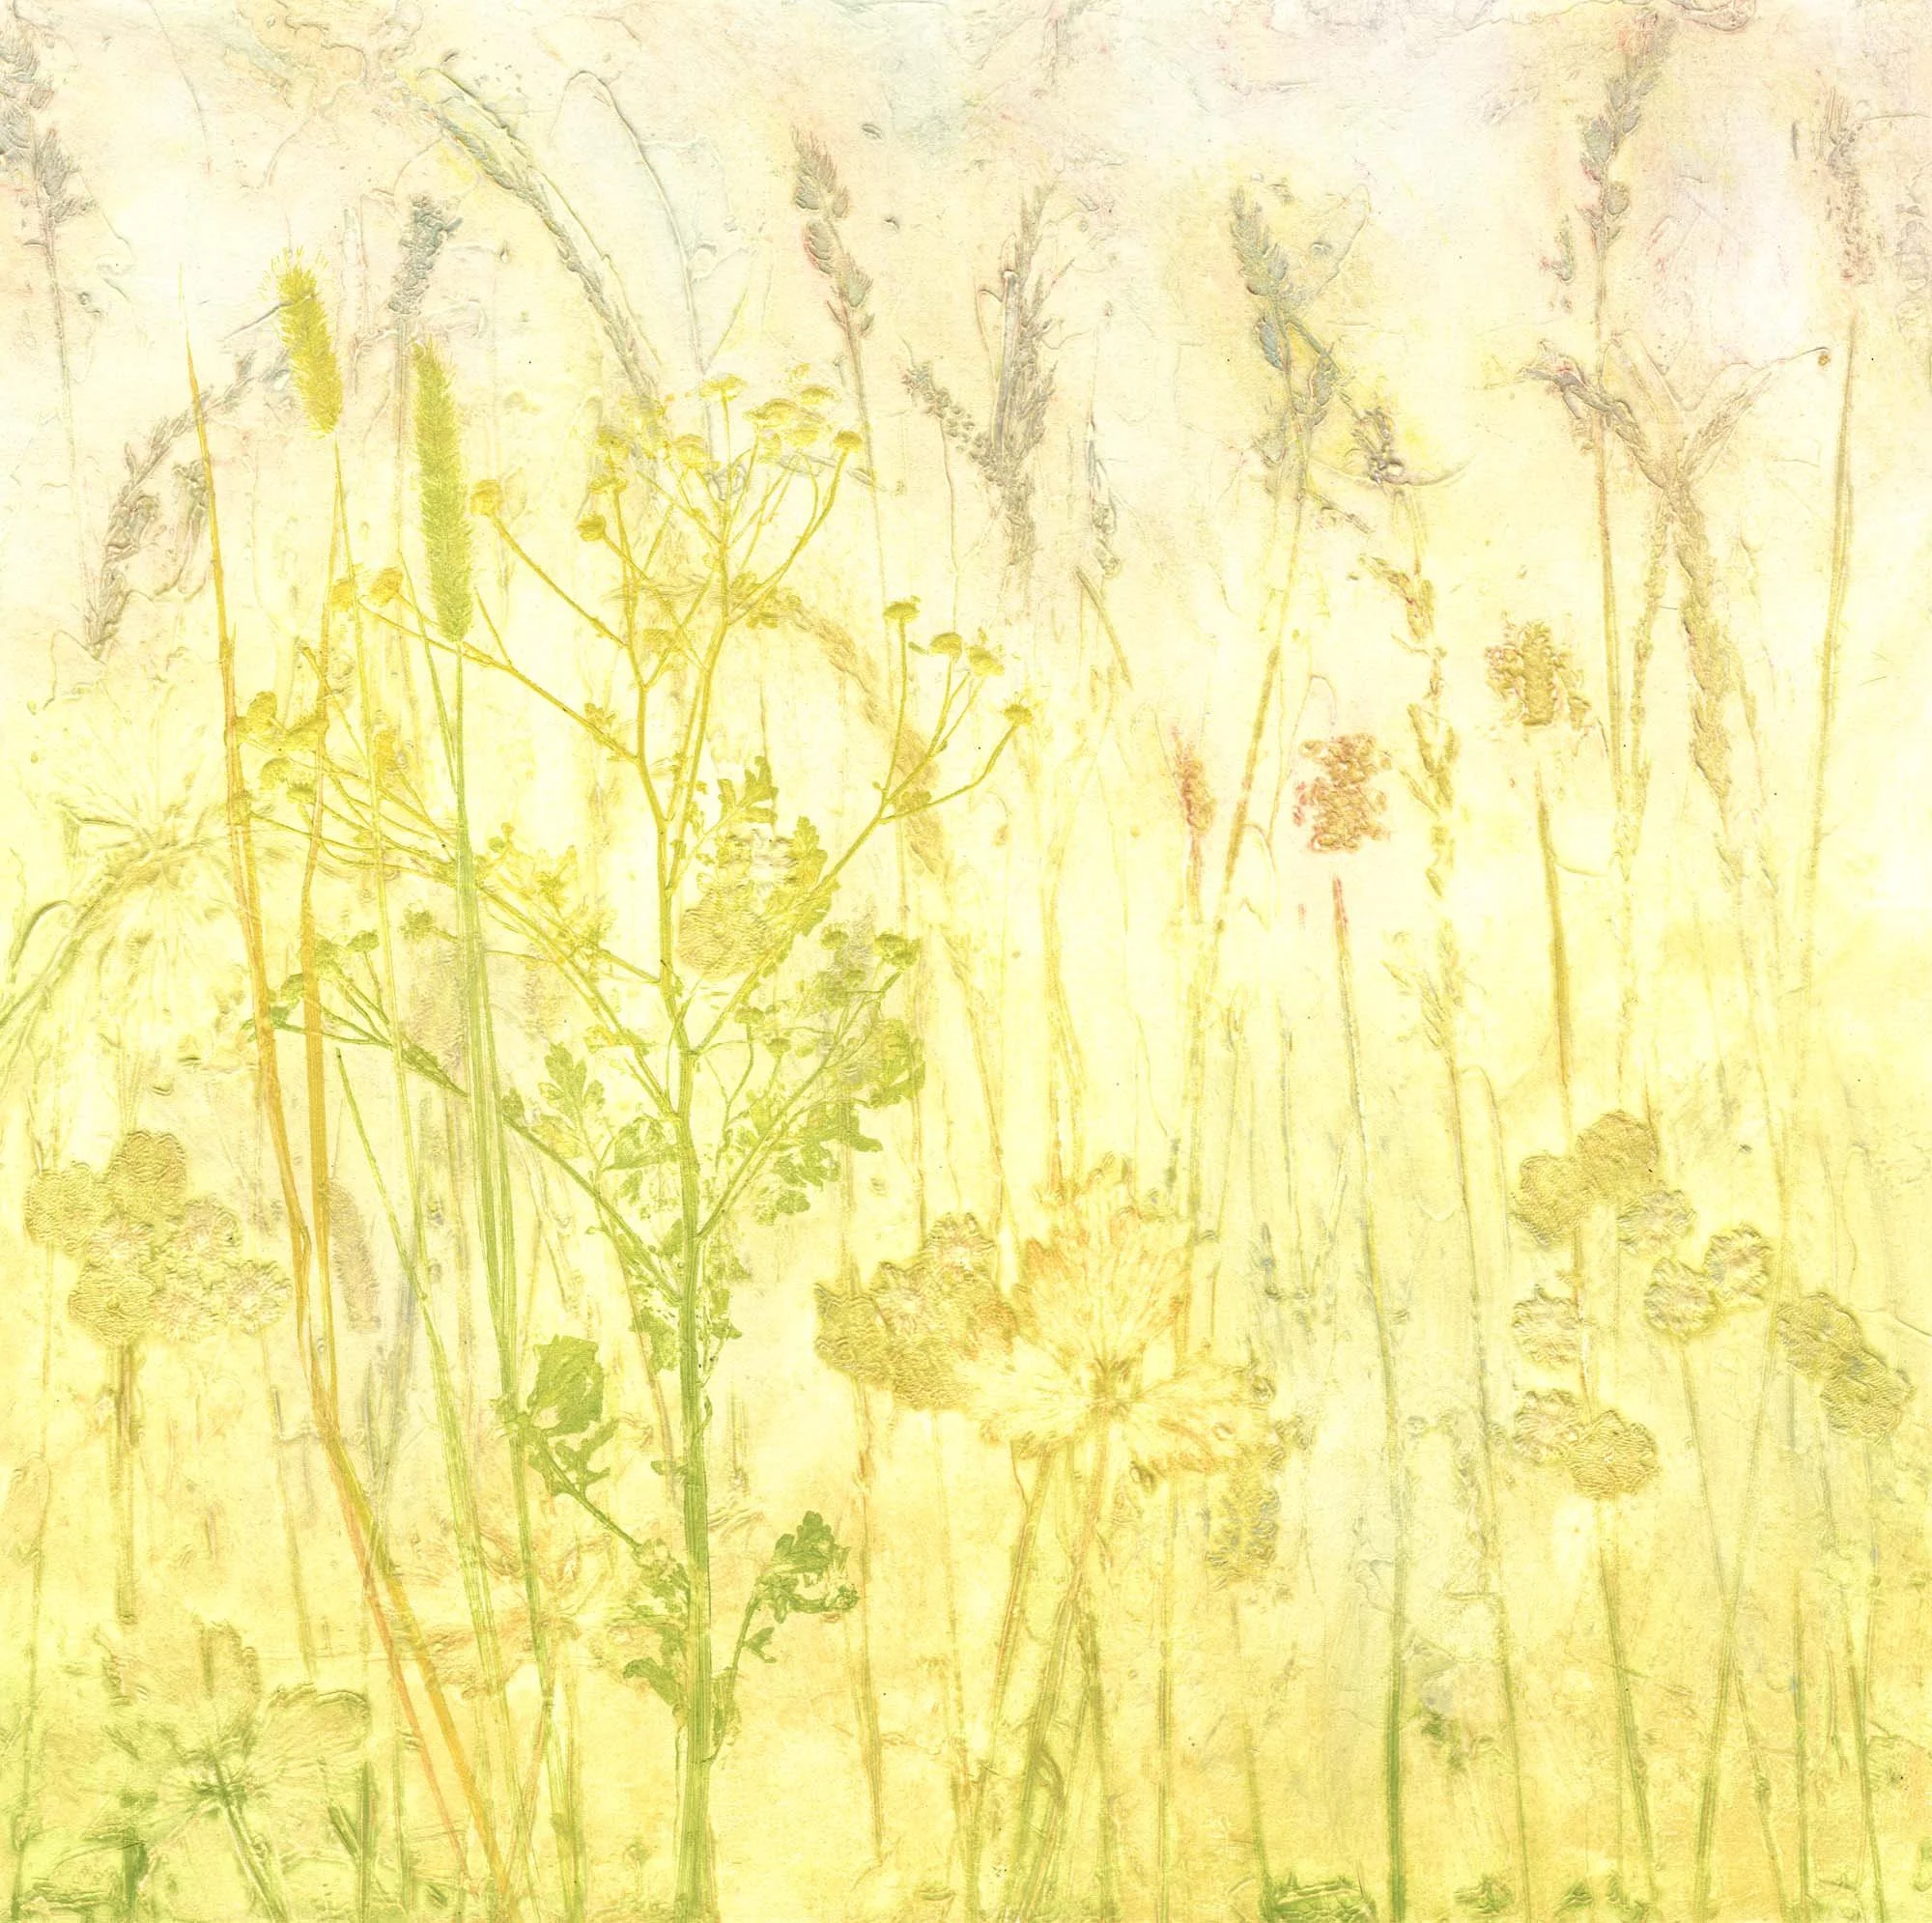
Collagraph Landscape Art Print using plants found in the hedgerows and fields | Country Lanes II
All printmakers have their own individual approaches to the medium. These are some of mine.
Nothing replaces the workshop situation where you can pick up hints and tips in real time.

A detail of a test plate using carborundum and PVA
What is a Collagraph?
A collagraph is a printing plate created by glueing or adhering various textured materials to a base surface. These materials, which can range from fabrics and natural elements to found objects and paints, provide a unique and textured surface that is then inked and pressed to create a print. Are you new to collagraphs? Start with my introduction here.

Creating a Collagraph Plate
To begin creating a collagraph, you'll need a sturdy base like mountboard, thin perspex, or a steel plate. From there, you can experiment with a variety of materials to build up the texture and design of your plate. Some popular choices include:
Fabrics: Lace, gauze, burlap
Natural elements: Leaves, sand, string
Papers: Different textures and patterns
Found objects: Items with interesting textures
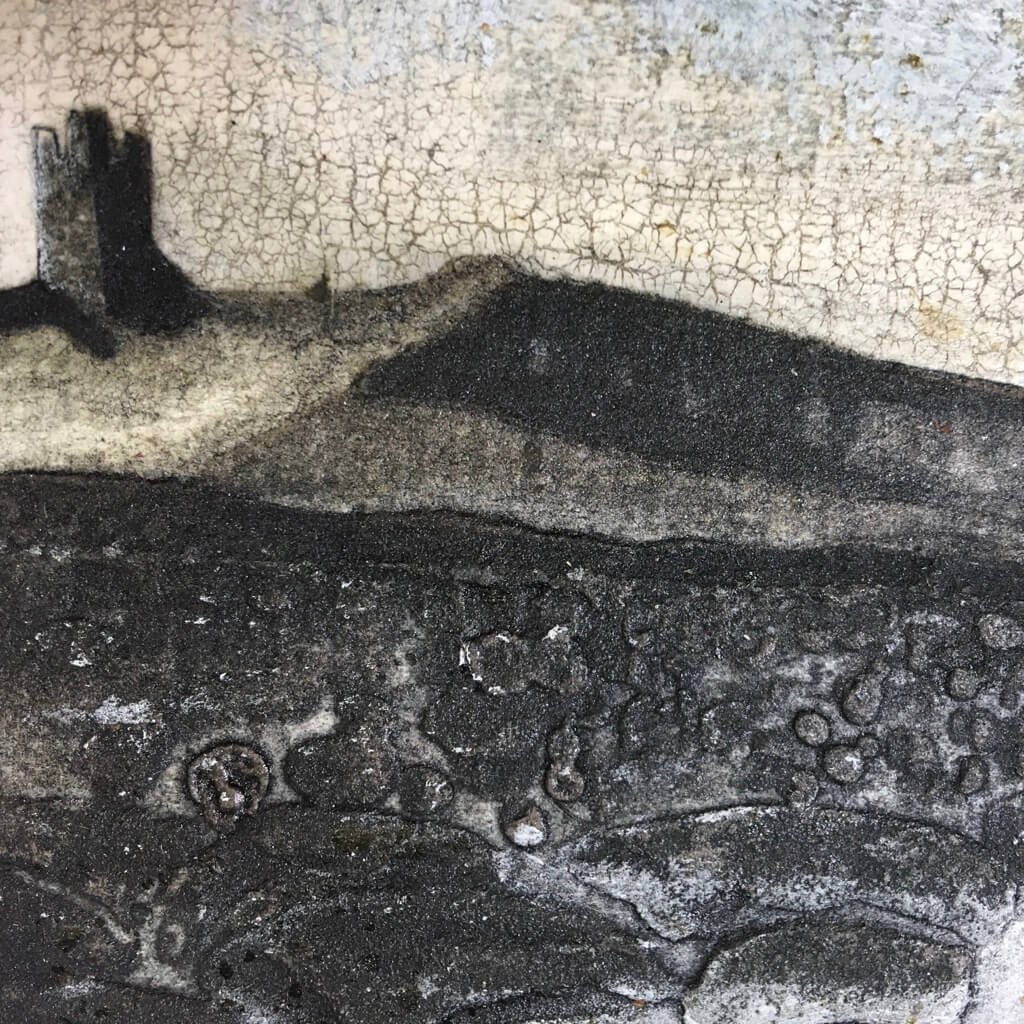
An ‘Intaglio’ collagraph plate - ‘Stronghold Under A Starry Sky’ made with carborundum, incised mount board, PVA and paint

A collagraph plate created with paint and carborundum
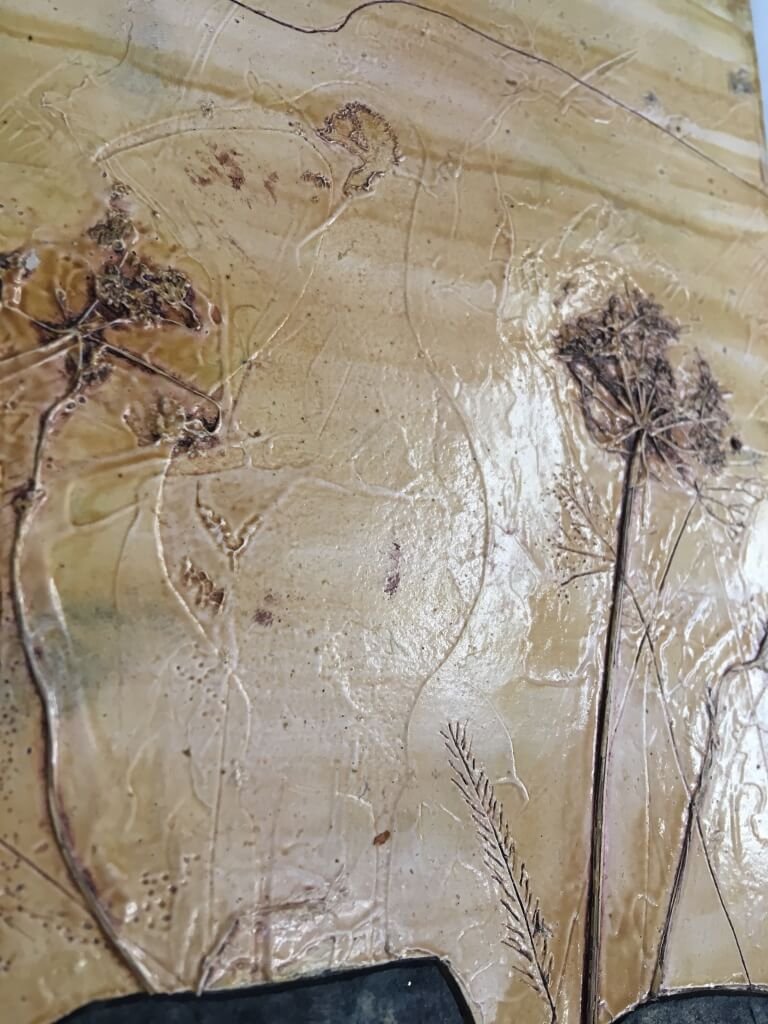
Collagraph plate sealed with shellac over gesso - plants pressed and incised into the surface.

Collagraph fine art print coming hot off the etching press.
Sealing the Plate
Once you're satisfied with your collagraph plate, it's important to seal the plate to protect it. This can be done using a varnish, waterproof PVA, acrylic medium, or shellac.
Printing Your Collagraph
Printing a collagraph involves applying ink to the plate and then pressing it onto paper. There are two main inking techniques:
Intaglio: Ink is applied to the grooves or depressions in the plate, creating darker tones.
Relief: Ink is applied to the raised areas of the plate, creating lighter tones.

A detail of a collagraph plate using gesso, incised mount board and an owl shaped plate made with carborundum and PVA.

A detail of the background base plate - with the owl shaped plate on top and plant material used for printing.
Experiment and Have Fun!
The beauty of collagraphs lies in their endless possibilities. Don't be afraid to experiment with different materials, techniques, and inking methods to create unique and expressive prints.

A wildlife fine art print proof in black and white

Tips for Success:
Consider how the textures you choose will translate into the final print.
Experiment with combining intaglio and relief inking techniques.
Use a variety of materials, including paints, textures, and found objects.
Seal the plate to protect it and ensure even ink transfer.
Conclusion
Collagraphs offer a versatile and exciting way to explore printmaking. By understanding the basics of the technique and experimenting with different materials and methods, you can create stunning and unique works of art that reflect your own personal style and creativity. Once you have explored the basics, explore my advanced process.
Curious what collagraph looks like as a finished piece?
I've been making original collagraph and monotype prints of Scottish and Northumbrian landscapes for over twenty years. Each one is hand-pulled, unique, and as individual as a painting — without the painting price tag. Browse the current collection and find your piece of the wild.